Document Best Practices
Managing documents is important for making your site easy to search, for making internal documents easy to find and link to and for general website maintenance.
On this Page:
- Is a PDF the Right Format?
- Uploading and Linking to Documents
- Naming Documents
- Deleting Documents
- Overwriting Documents
Is a PDF the Right Format?
Before uploading a document, ask yourself if a document is the best format for sharing this information. Consider adding the content to an existing webpage, to a new webpage or sharing it in some other way.
Using HTML Content versus PDFs
Benefits of HTML Content
Whenever possible, web content should be added directly to a page.
Benefits of using an HTML web pages are that you'll have:
- accessible, responsive pages (able to resize for mobile devices)
- content that's easier to update
- content that's easier for search engines to find
- a format that's easier to track user engagement
- a channel that more easily accommodates multimedia, interactive elements
- content that's easier to share on social media
- content that's easier to navigate
When to use HTML
When in doubt, use an HTML web page. More specifically, you should consider an HTML-only web page when:
- content is 1-2 pages or fewer than 800 words
- content needs to be easily readable, scannable and digestible
- content directs users to an online call-to-action
- content will be updated periodically or frequently
- audience is expected to read online
- goal is engagement (reading, clicking) and/or to share across other channels (email, social media, partner sites)
Benefits of PDFs
PDFs can be helpful for specific cases, link when:
- content is primarily for printing
- there is complex formatting, such as charts and forms
When to use PDFs
Here are a few reasons you may want to use PDFs, like when:
- content is 3+ pages or more than 1,000 words
- content needs to be printable and able to distribute as a hard copy
- the audience will likely want to print and distribute the content
- the goal is for audience to download the content
When to use both HTML Content and PDFs
It can be helpful to use both HTML and PDFs when:
- content is 3+ pages or more than 1,000 words
- content includes tables, charts or other elements that may need to be adjusted in the HTML content
- the call-to-action involves a content download
- the audience is expected to want to read the content online but may need a print option
Uploading and Linking to Documents
There are several best practices when it comes to providing access to documents.
- Always upload and publish a document before linking to it. Do not directly link from SharePoint or another online database.
- Always link to the official version of a document — do not upload a separate version of another office’s document to your site section.
- When uploading documents, always upload them to the “documents folder” so that your documents are in one place and you can ensure duplicates are not uploaded.
- When linking to documents in the content management system, all documents must be set to “open in a new window.”
- When linking to a document, you will automatically be directed to staging. You want to make sure that you switch to production through the drop-down in the top right corner so that you have access to the full library of images/documents available.
Uploading a Document to Staging vs. Production
The website is set on a dual server — a staging area and a production area. Staging is what you have access to edit. Production is what you have access to link to but not edit.
When you upload a document, it will upload to staging. You need to publish it in order to have it show up in production. You will want to submit it for approval or publish so that you can link to it.
Uploading a Document Step-by-Step
There are multiple ways to upload a document to the website, but this is our recommendation. It’s what we do and what we find the easiest.
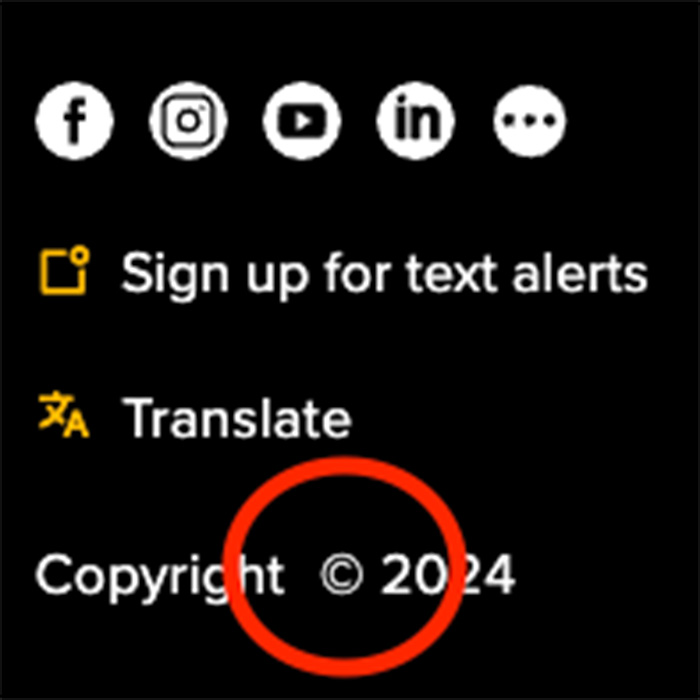
1. Navigate to your homepage and log in to the CMS
Once you are on your homepage, click the © and log in using your Towson NetID.
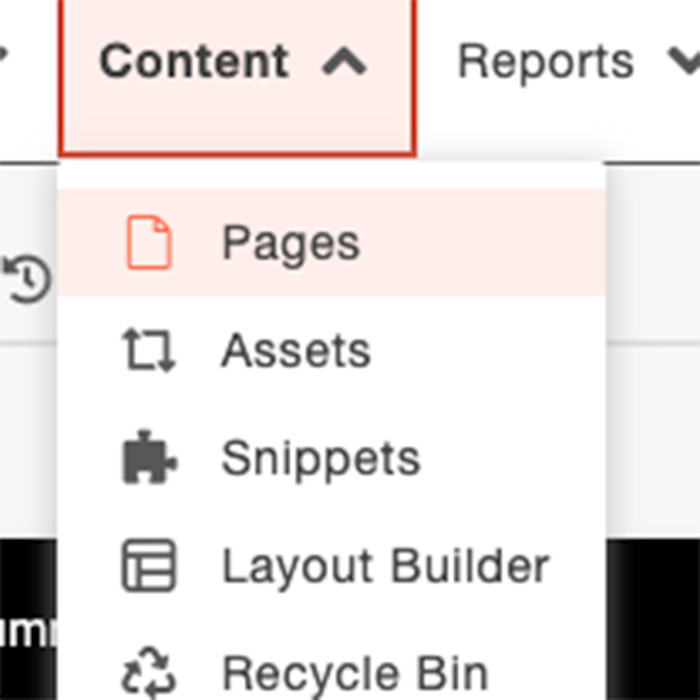
2. Go to the “pages” section of your website
On the top bar, find “content.” Click the drop-down. From there, select “pages.”
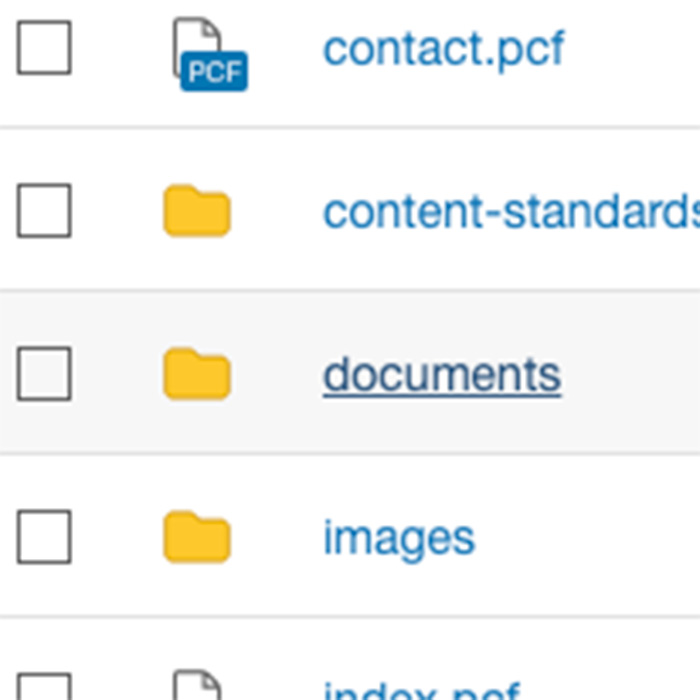
3. Click on your “documents folder”
In your pages section, you will have a documents folder. Open that up.
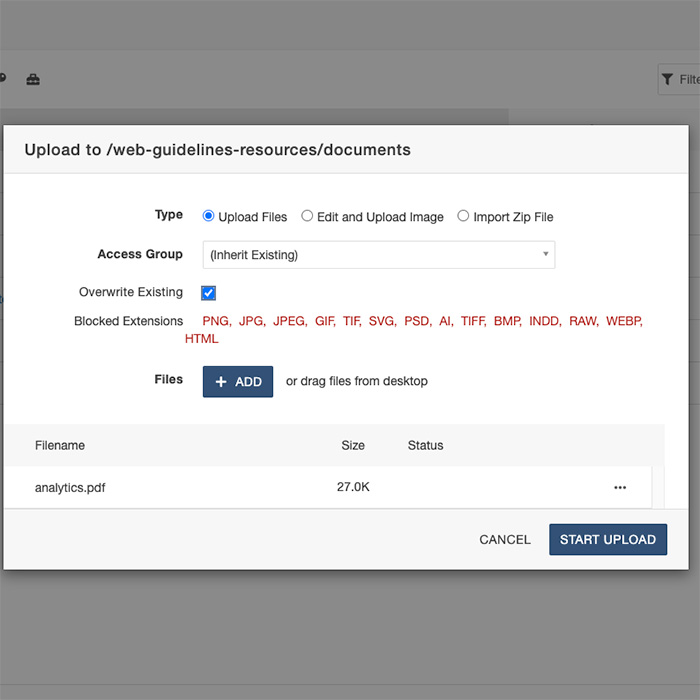
4. Upload your document
Click “upload” in the top right corner. Select add or drag and drop your file. Select the overwrite option if you are overwriting the document. Click “start upload.” Remember that documents cannot have capital letters and must be spaced out by – (dashes) in order to upload them.
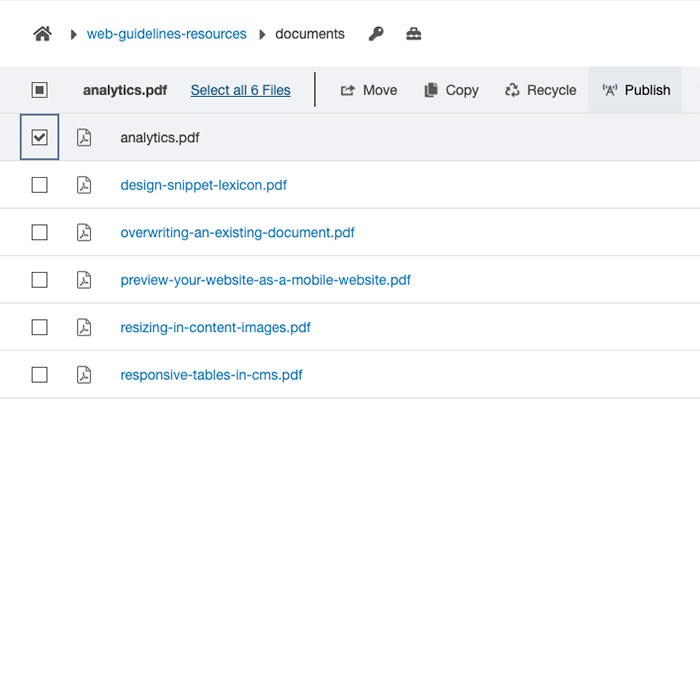
5. Publish your document
Once uploaded, check the box next to your document(s). Then click “publish.” You are now able to link your document.
Naming Documents
Always use a generic file name to correctly name your documents.
For example, instead of “summerrequestform-revision11-approved092828.pdf,” name the file something that is understandable and short, such as “summer-request-form.pdf.”
File names must be lowercase, contain no spaces or special characters and use a hyphen between words.
Deleting Documents
It is important to remove old and unused documents from the website. Even after removing document links, documents can continue to be found in search results.
To have a document removed from the CMS, submit a TechHelp service request. Follow these instructions in the request:
- Select "Open a Ticket"
- Select "Web Content & Publishing"
- Select "University Website & Modern Campus CMS"
- Select "Open a Ticket"
- Enter the name of the document and the file path where it is located
Overwriting Documents
Instead of uploading a completely new file when a document is changed, you should overwrite the existing document.
Overwriting documents ensures:
- links to the document remain intact
- existing search engine results will continue to function
- you can avoid deleting old versions of a document from the server. This is another reason to use a generic file name when uploading documents.
For instructions on how to overwrite documents see Overwriting an Existing Document (PDF).